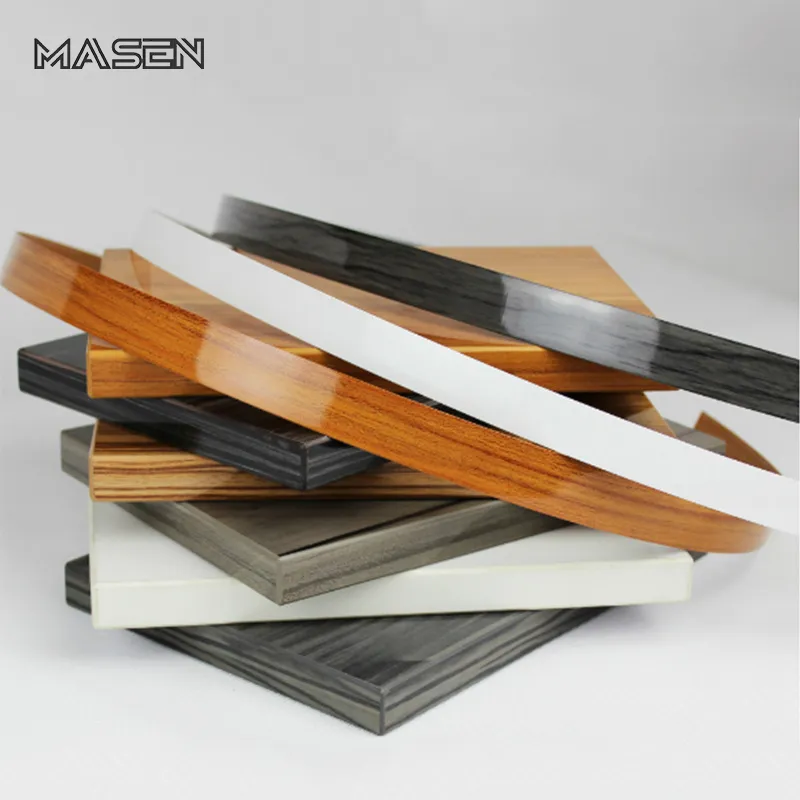
Edge banding is a thin, flexible strip of material used to cover the exposed edges of plywood, giving it a polished, finished appearance. Often made from real wood veneer or other materials, edge banding enhances plywood projects by providing durability, aesthetic appeal, and a seamless look that closely resembles solid wood. It can be stained, painted, or finished to match the plywood surface, making it an essential detail in woodworking, cabinetry, and furniture making.

Benefits of Edge Banding
- Improved Aesthetics: Covers the rough, unfinished edges of plywood, giving a sleek and professional look.
- Enhanced Durability: Protects the edges from moisture, wear, and chipping, increasing the lifespan of the project.
- Customizability: Made from real wood, edge banding can be stained or painted to match the plywood’s finish.
- Eco-Friendly Options: Wood veneer banding offers a sustainable alternative to plastic-based edge banding.
How to Choose Plywood Edge Banding
When selecting edge banding, consider the following:
- Material Type:
- Wood Veneer: Ideal for a natural look and easy customization with stains or finishes.
- Plastic (PVC/ABS): Durable and moisture-resistant, suitable for heavy-use applications.
- Width:
Edge banding is available in various widths. Choose one slightly wider than the plywood thickness to allow for trimming after application. - Adhesive Type:
- Pre-glued: Comes with heat-activated adhesive, making it easy to apply with an iron.
- Non-glued: Requires separate application of adhesive, offering more control over the bonding process.
- Color and Grain: Select a banding that matches or complements your plywood’s finish for a cohesive look.
Tools and Supplies Needed for Applying Edge Banding
To apply edge banding successfully, you’ll need the following items:
- Edge Banding Roll: Choose based on material, width, and adhesive type.
- Clothing Iron: For activating heat-sensitive adhesive.
- Utility Knife: For precise cutting of excess banding.
- C-Clamps: To stabilize the plywood during application.
- Wood Block: For pressing down the banding as it cools.
- Edge Trimmer Tool: To remove excess banding along the edges.
- 150-Grit Sandpaper: This is used to smooth and round the edges for a polished finish.
Step-by-Step Guide to Applying Edge Banding
- Measure and Cut:
- Roll the edge banding along the plywood edge to measure the required length.
- Cut the banding slightly longer than needed using scissors or a utility knife.
- Position and Secure:
- Clamp the plywood in a vertical position to ensure stability.
- Align the edge banding with the plywood edge, allowing slight overhang on both sides.
- Activate the Adhesive:
- Heat a clothing iron to the “cotton” setting.
- Slowly move the iron along the banding, applying consistent pressure. Work at about 2 inches per second to activate the adhesive without scorching the veneer.
- Press and Cool:
- Immediately press the banding down with a wood block to ensure a strong bond.
- Allow the banding to cool completely before moving to the next step.
- Trim Excess:
- Use an edge trimmer tool to remove the overhanging banding along the length of the plywood.
- Cut the extra length at the ends with a utility knife for a clean finish.
- Sand the Edges:
- Wrap sandpaper around the wood block and gently smooth the edges to round off any sharp corners.
Tips for a Flawless Finish
- Test the iron’s temperature on a scrap piece of banding to avoid overheating.
- Work slowly and steadily to ensure uniform adhesion.
- For non-glued banding, evenly apply adhesive to the plywood edge before positioning the banding.
Conclusion
Edge banding is a simple yet transformative solution to elevate the look and durability of plywood projects. With the right materials and tools, applying edge banding is a straightforward process that results in professional, polished edges. Whether you’re crafting furniture, cabinetry, or decorative pieces, edge banding helps bridge the gap between practicality and aesthetics.
